How to Turn Pictures Into Stickers on Android with StickerFromPhoto
A practical Android Chrome guide for turning a photo into a digital sticker: upload a supported image, adjust the outline and background, add optional text, download a 1080 x 1080 PNG, and find it in Android Downloads.
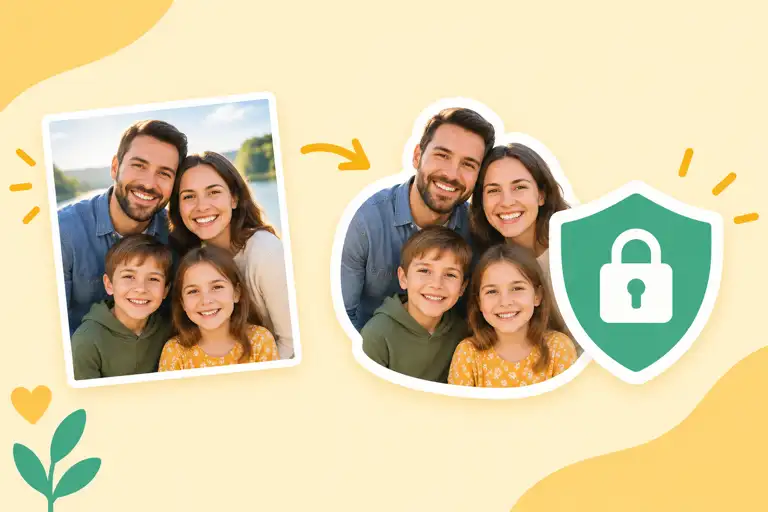
If you want to turn pictures into stickers on Android, StickerFromPhoto gives you a browser-based workflow that works in Chrome on a phone or tablet. You choose a photo, adjust the sticker appearance, preview the result, and download a 1080 x 1080 PNG without installing an app or creating an account.
What StickerFromPhoto can do
The tool creates a sticker from the complete photo and keeps the process in your browser. It accepts PNG, JPG, JPEG, and WEBP images up to 15 MB. You can choose a transparent background or a solid color, change the outline thickness and color, add optional text, and use the simple local Remove Background mask when the subject is set against a fairly even background.
The output is a digital PNG. It is useful for chats, social posts, presentations, digital scrapbooks, labels, and other places where you need a square image. The tool does not promise automatic subject extraction or a perfect AI cutout. If a room, sky, table, or other surrounding scene is visible in the original photo, that scene can remain part of the sticker.
Step 1: Open the sticker maker in Android Chrome
- Open Chrome on your Android phone or tablet.
- Go to StickerFromPhoto and open the sticker maker section.
- Tap Upload a photo or the browse area.
- Choose a photo from the Android photo picker or file picker. Select a PNG, JPG, JPEG, or WEBP file that is no larger than 15 MB.
Android brands can label the picker differently. You may see Photos, Gallery, Files, or a similar option. These labels change with the phone manufacturer and Android version, but the goal is the same: select the image you want to edit. After the image loads, check the live preview before changing settings.
Step 2: Adjust the outline
Use Outline thickness to choose Thin, Medium, or Thick. Thin works well when the photo already has clear contrast. Medium is a balanced starting point for portraits and everyday pictures. Thick can make the sticker easier to see when the image will be displayed small or placed on a busy surface.
Choose an outline color
Use the outline color control to match the intended background. White is a familiar sticker look, but a dark or brighter color may be easier to see around a light photo. Compare the preview at the size where you expect to use it, because a border that looks subtle on a phone screen may be less visible after an app resizes the PNG.
Step 3: Select the background
Choose Transparent when the sticker will be placed over a chat, design, presentation, or colored package. Transparent pixels remain outside the sticker artwork in the exported PNG.
Choose Solid color when you want the sticker preview to sit on a single-color background. Use the background color control to pick a color that gives the outline enough contrast. Check the corners and edges of the preview before downloading.
Optional background removal
Remove Background uses a simple local mask that removes edge-connected pixels similar to the corner color. It is not an AI background replacement. It works best when the subject contrasts clearly with a simple, evenly colored background. Turn it on only when the result improves the preview, and inspect the edges around hair, fur, thin objects, and shadows.
Step 4: Add optional text
If the sticker needs a short message, enter it in the optional text field. You can adjust the font size, text color, and text position, including Top, Center, or Bottom. A soft shadow can help the message remain readable over a detailed photo.
Keep the message short on a phone-sized preview. If the photo already contains important words, leave the optional text empty so the two sets of text do not compete.
Step 5: Preview and download the PNG
- Review the photo, outline, background, and any text in the live preview.
- Change the controls until the edges and message look clear.
- Tap Download PNG.
- Wait for Chrome to finish creating the file. The tool exports a 1080 x 1080 PNG using the filename sticker-from-photo.png.
The basic workflow does not require an account. If you want to work on another image, use Start over or Upload another photo, then repeat the same steps.
Step 6: Find the downloaded sticker on Android
Android devices can show downloads in slightly different places depending on the manufacturer, Android version, and default file app.
- Look for the download notification that appears after Chrome saves the PNG, then tap it to open the file.
- If the notification is gone, open Chrome, tap the three-dot menu, and choose Downloads.
- You can also open the phone file manager, such as Files or My Files, and open the Downloads folder.
- Search for sticker-from-photo.png if the folder contains many files.
Some Android phones use a manufacturer-specific file manager or show a different label for the same folder. If Chrome asks where to save the file, keep the selected location and use that location when you search for the PNG.
Practical Android settings
- Use a clear, well-lit photo when you want the outline or local background mask to be easier to inspect.
- Try Medium outline thickness first, then compare Thin and Thick in the preview.
- Use a transparent background for designs that already have their own color.
- Use a solid background when the sticker needs a consistent square canvas.
- Check the downloaded PNG in the Android gallery or file preview before sharing it.
Common questions
Do I need to install an Android app?
No. StickerFromPhoto runs in a modern web browser, so you can use Chrome on an Android phone or tablet.
Which image files can I upload?
You can upload PNG, JPG, JPEG, or WEBP images up to 15 MB.
Does the tool download a real PNG?
Yes. The Download PNG control exports the current sticker preview as a 1080 x 1080 PNG.
Why does the original background remain?
The sticker is created from the complete photo. The optional local Remove Background mask can help with simple, evenly colored backgrounds, but it is not automatic subject extraction or an AI background replacement.
Where is the PNG on my Android phone?
Start with the Chrome download notification or Chrome menu and Downloads. If it is not there, open the device file manager and check the Downloads folder. The exact app name and layout vary by Android brand.