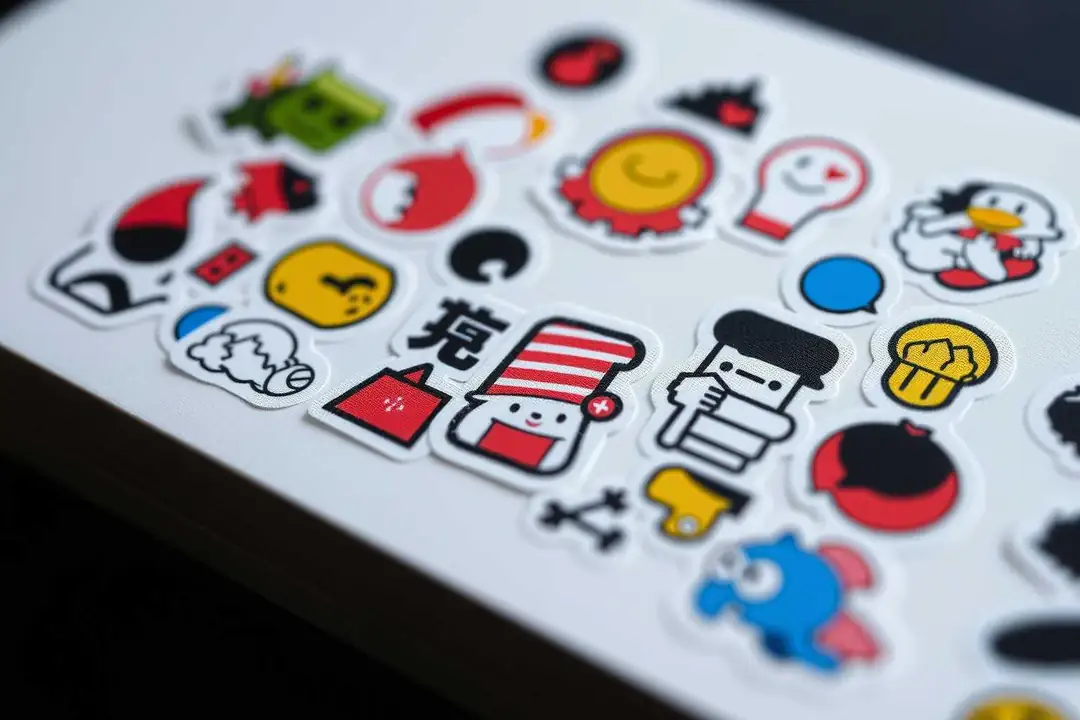
How to Add an Outline to an Image for a Sticker
Learn how to use Create Sticker from Photo to choose Thin, Medium, or Thick outlines, set a contrasting color for light or dark backgrounds, and understand how an outline differs from a cut line and a border.
Add a clear outline with Create Sticker from Photo
Create Sticker from Photo lets you upload an image, choose an outline thickness and color, select a transparent or solid background, and download a 1080 × 1080 PNG in your browser. This guide explains what the outline does, how it differs from a cut line or a general border, and how to choose a stroke that stays visible on light and dark surfaces.
Outline, cut line, and border are not the same
| Term | Meaning | How it relates to this site |
|---|---|---|
| Sticker outline | A visible stroke drawn around the artwork to separate it from what is behind it. | This is the control labeled Outline thickness and Outline color. |
| Cut line | A production or cutting path used by a printer, plotter, or die cutter. | The browser editor does not export a separate manufacturing cut path; its outline is visual artwork in the PNG. |
| Border | A broad term for an edge or frame around an image, which may be a stroke or a filled margin. | People often call the outline a border, but the editor specifically changes the outline stroke. |
Use the outline when you need visual separation in a chat, poster, presentation, or layered design. If a print provider asks for a cut line, confirm its file specification separately because a visible outline alone is not a cutting path.
Step-by-step: add the outline
01 Upload the photo
Open the sticker maker and use the upload area to choose a JPG, JPEG, PNG, or WEBP image up to 15 MB. The preview uses a square 1080 × 1080 canvas, so check that the subject is not too close to an edge.
02 Choose the background
Under Background, keep Transparent when the sticker will sit on different surfaces. Choose Solid color when the square background should travel with the PNG, then use the Background color picker.
03 Pick a thickness
In Outline thickness, select Thin, Medium, or Thick. The editor maps these choices to 16, 28, and 44 pixels on the canvas. Preview each option at the size where the sticker will be used.
04 Set the outline color
Open Outline color and choose a color that contrasts with the image edge and the destination background. The default is white, but the native color picker allows another color.
05 Check optional finishing controls
You may add short optional text and adjust its size, color, and Top, Center, or Bottom position. Remove Background is a local simple mask for subjects against fairly even backgrounds; it is not an AI cutout.
06 Download the PNG
Inspect the live preview, then click Download Transparent PNG for transparency or Download PNG for the current solid-background design. The output is a 1080 × 1080 PNG and no account is required.
Thin, medium, and thick outline examples
The three choices are presets rather than a freehand width slider. Use the following as a practical starting point, then judge the live preview at the final display size.
Thin (16 px)
Best for a clean, minimal edge when the subject already contrasts with its surroundings. It preserves more of a detailed photo and works well for larger previews.
Medium (28 px)
A balanced everyday choice for portraits, pets, and casual photos. Start here when you are unsure, then compare it with Thin and Thick before exporting.
Thick (44 px)
Creates stronger separation for busy imagery, dark interfaces, and small sticker previews. It can occupy more of the canvas around fine details, so inspect corners and hair carefully.
Choose a color for light and dark backgrounds
Color choice depends on both the photo edge and the surface behind the exported PNG. A white outline is easy to see around a dark subject or on a dark chat background, while a black or deep-colored outline usually separates a pale subject on a white page.
- Dark background: try white or another light outline. If the photo itself has bright edges, test a saturated color and confirm that it does not disappear into the subject.
- Light background: try black, charcoal, or a dark accent color. This prevents a pale outline from blending into a white page.
- Colorful or busy background: use Medium or Thick first, then select a simple high-contrast color. Place the preview over the actual destination when possible.
- Transparent output: check the PNG on both a light and dark surface because the outline will be seen against whatever is underneath it.
The color picker changes the outline itself. It does not create a separate cut line, and it does not remove the photo background.
Examples that match real editor settings
Pet chat sticker: select Transparent, start with a Medium white outline, and compare it on a dark and light chat surface.
Product image on a pale page: use a Thick charcoal outline so the subject does not merge into the page, then download the PNG.
Minimal travel label: use Thin with a dark accent color and Solid color when you want a complete square tile.
Photo with a complicated background: try Remove Background only as a simple local mask and inspect the result. For a precise silhouette, prepare a cutout in another editor and bring the cleaned PNG back for the outline and export.
Common questions
Is the outline a print cut line?
No. It is a visible stroke in the exported PNG. The editor does not provide a separate production cutting path.
Which outline width should I start with?
Start with Medium (28 px) for a balanced result. Use Thin (16 px) for a lighter edge and Thick (44 px) when a small or busy image needs stronger separation.
What color works on a dark background?
White or another light, high-contrast color is usually easiest to see. Check the preview because the photo edge also affects contrast.
Does Transparent remove the original photo background?
No. Transparent controls the exported canvas background. Remove Background is a simple local mask for fairly even backgrounds, not an AI subject cutout.
What file does the editor download?
The editor downloads a 1080 × 1080 PNG. Choose Download Transparent PNG when the outside pixels need to remain transparent.
Final outline check
Upload the image, compare Thin, Medium, and Thick, test the outline color on the surface where the sticker will appear, and inspect the square preview before downloading. This keeps the visible outline purposeful while avoiding the common mistake of treating a decorative border as a printer's cut line.
Open Create Sticker from Photo to try the settings in your browser.